There’s something magical about the aroma of fresh bread wafting through the kitchen, isn’t there? And when that bread is flavored with Italian herbs and topped with gooey cheese, it’s a whole new level of deliciousness. This article is your guide to making Italian Herbs and Cheese Bread at home quickly, without fuss, and with results that’ll wow your taste buds. Whether you’re a seasoned baker or a total newbie, you’ll find everything you need to get started. Let’s dive right in!
Introduction to Italian Herbs and Cheese Bread
What Makes Italian Herbs and Cheese Bread Unique?
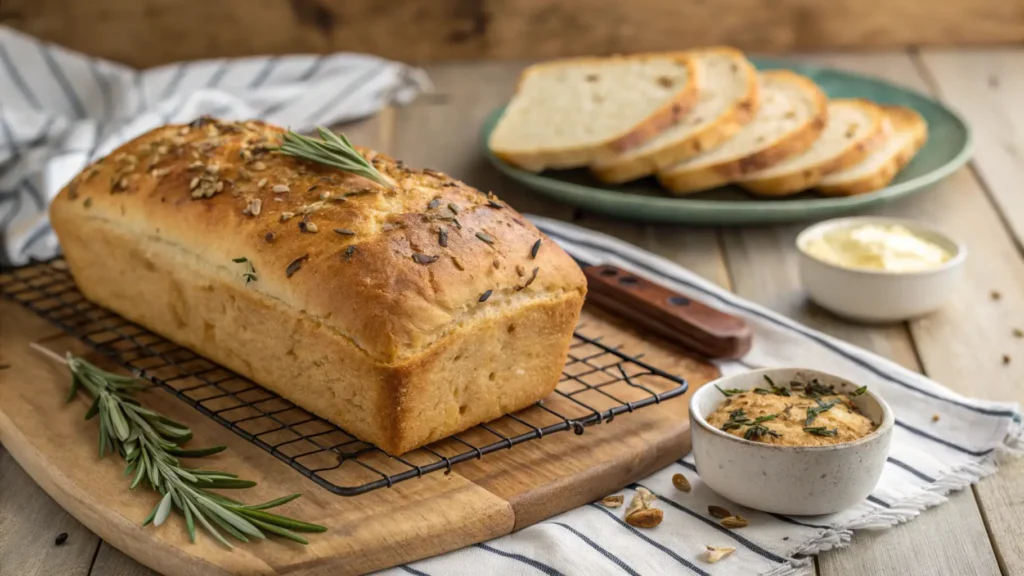
What’s so special about Italian Herbs and Cheese Bread ? It’s not just bread; it’s an experience. With its soft and fluffy texture, a golden brown and crisp crust, and a topping of melted cheese and savory Italian herbs, it’s no wonder it’s a favorite at places like Subway . But here’s the thing: when you make it at home, you control everything , from the quality of ingredients to how much cheese goes on top (hint : more is always better)
Quick Overview of Italian Herbs and Cheese Bread Recipe and Its Popularity
This bread isn’t just a hit in restaurants it’s a crowd-pleaser at home, too. You’ll start by making a simple bread starter , mixing up dough, and then adding the star of the show , that cheesy, herby topping . It’s a recipe perfect for everything from sandwiches to side dishes or even as a snack all on its own . And guess what ? It’s not as complicated as it sounds. With some planning and a few essential ingredients, you can have homemade Italian Herbs and Cheese Bread that’s even better than the store-bought version.
Ingredients Needed for Italian Herbs and Cheese Bread
Essential Ingredients for Italian Herbs and Cheese Bread: Flour, Yeast, and Seasonings
You’ll need a few pantry staples to make the perfect Italian Herbs and Cheese Bread. The star of the show is all-purpose flour, which provides the structure for your bread. You’ll also need active dry yeast, which makes the dough rise. Don’t forget kosher salt for seasoning and sugar to feed the yeast.
For the topping, gather Monterey Jack cheese, Parmesan cheese, and a blend of Italian seasonings like oregano, basil, and thyme. These herbs are what give this bread its signature savory flavor. And let’s not overlook butter melted and brushed on top for that irresistible golden crust.
Optional Substitutions for Dietary Preferences in Herb and Cheese Bread
Do you have dietary needs? No problem. You can swap vegan butter and vegan cheese to make this bread vegan-friendly . If gluten’s off the table, try a gluten-free all-purpose flour mix . However, gluten-free baking can be tricky , so your results might vary .
Where to Find Rare Ingredients Like Diastatic Malt Powder for Italian Herbs and Cheese Bread
Now, that diastatic malt powder is not as intimidating as it sounds. This ingredient boosts the bread’s texture and color. You can find it online or at specialty grocery stores. If you can’t get your hands on it , don’t worry ; your Italian Herbs and Cheese Bread will still turn out fantastic without it.
Preparing the Bread Starter for Italian Herbs and Cheese Bread

What is a Bread Starter for Italian Herbs and Cheese Bread?
The bread starter is like a pre-game warm-up for your dough. It’s a mix of flour, yeast, malt powder, and water that helps create a flavorful base. Think of it as the secret to achieving soft, fluffy Italian Herbs and Cheese Bread. Mixing takes just a few minutes but needs 4-6 hours to rest and work its magic.
Step-by-Step Guide to Making the Starter for Herb and Cheese Bread
To make your starter, combine 75 grams of all-purpose flour, ½ teaspoon of diastatic malt powder, 3 grams of active yeast, and 60 milliliters of lukewarm water. Stir everything together in a bowl until smooth. Cover the bowl with a clean towel and leave it at room temperature for 4-6 hours. (Pro tip: Find a warm spot near the oven or in a sunny corner to help it rise.)
Importance of Resting Time for the Starter in Italian Herbs and Cheese Bread
Don’t skip the resting step! This is when the yeast ferments, developing flavor and giving your bread that extra rise. If you’re short on time, you can refrigerate the starter overnight at room temperature after a couple of hours. Just bring it back to room temperature before mixing it into your dough.
Making the Dough for Italian Herbs and Cheese Bread
Mixing the Starter with Dough Ingredients for Italian Herbs and Cheese Bread
Now that your starter is ready, it’s time to get into the real deal—making the dough! Mix your starter with 600 grams of all-purpose flour, 40 grams of softened butter, 17 grams of active dry yeast, 50 grams of sugar, and 340 milliliters of lukewarm water. Don’t forget the kosher salt and malt powder to round out the flavors.
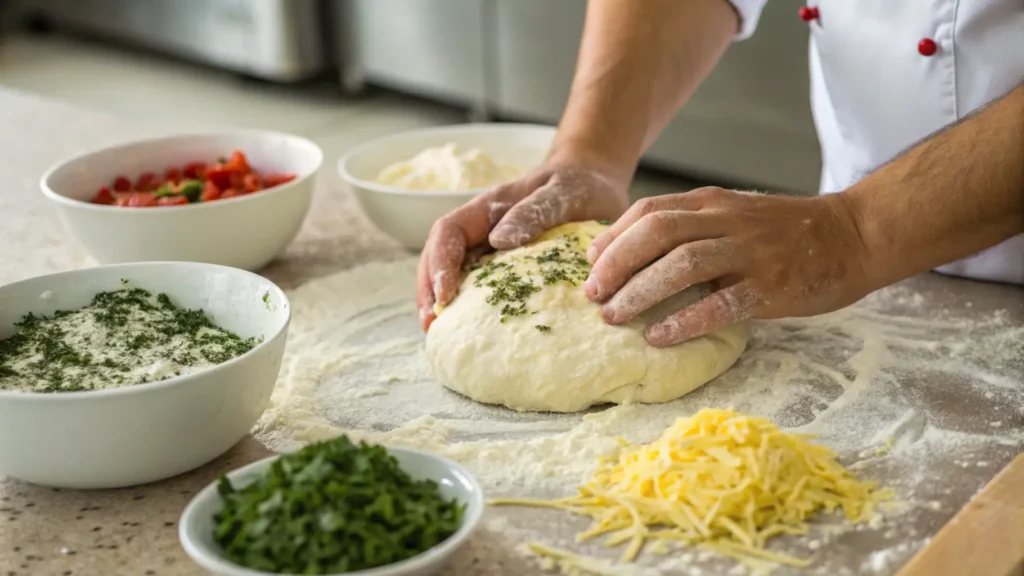
If using a stand mixer, attach the dough hook and knead at medium speed for about 8 minutes. If you’re going old school and kneading by hand, clear some counter space, dust it with flour and work that dough simultaneously. Either way, you’ll have a smooth, elastic dough perfect for your Italian Herbs and Cheese Bread.
Kneading Techniques for Herb and Cheese Bread: Hand vs. Mixer
Using a stand mixer makes kneading more manageable and less messy, but hand-kneading can be therapeutic. Plus, you can sneak in a mini workout! Make sure the dough is soft but not sticky, whichever method you choose. If it sticks too much, sprinkle in a little extra flour, one tablespoon at a time.
Resting and Folding the Dough: Why It’s Essential
Let the dough rest for 30 minutes at room temperature, then gently fold it to help create structure and air pockets for that light, fluffy texture. Repeat this rest-and-fold process three times, letting the dough rest for 10 minutes between each fold. Your patience will pay off when you taste the final product!
Shaping and Topping the Bread
Shaping the Loaves: Tips for Uniformity
Now comes the fun part of shaping the loaves! Divide the dough into 4-5 equal portions . Roll each piece into a log shape, about the size of a baguette. If you want them to look like the ones at Subway, use silicone bread molds to keep them uniform. Otherwise, freeform loaves work just fine.
Creating the Iconic Herb and Cheese Topping
Here’s where your Italian Herbs and Cheese Bread gets its pizzazz. Mix ½ cup shredded Monterey Jack cheese in a bowl, two tablespoons of grated Parmesan, three tablespoons of Italian seasoning, and one teaspoon of garlic powder. Brush each loaf with melted butter and generously sprinkle the topping mixture. Go heavy-handed here. There’s no such thing as too much cheese and herbs!
Alternative Topping Ideas for Variation
If you’re feeling adventurous, switch things up! Try adding shredded mozzarella or Gouda instead of Monterey Jack. You could even sprinkle some red pepper flakes for a spicy twist or add a dash of smoked paprika for a smoky flavor.
For more inspiration, check out this Perfect Date Nut Bread recipe for another delicious homemade bread idea.
Baking the Bread
How to Bake with Moisture for Perfect Crust
It’s time to turn that dough into golden, cheesy goodness! Preheat your oven to 350°F (180°C). Place an oven-safe bowl of water on the lower rack for that bakery-style crust. This creates steam while baking, which helps achieve a soft, fluffy inside and a lightly crisped crust just what we want for Italian Herbs and Cheese Bread.
Arrange your shaped and topped loaves on a baking sheet lined with parchment paper or in silicone molds if you’re using them. Bake for 25-30 minutes, keeping an eye on the color. If you notice the cheese browning too quickly, tent the loaves with foil.
Using an Instant-Read Thermometer to Check Doneness
The easiest way to know your bread is ready is by checking the internal temperature. Insert an instant-read thermometer into the center of a loaf it should register between 190°F and 210°F. No thermometer? No worries. Tap the bottom of the bread; if it sounds hollow, it’s good to go!
Broiling for the Perfect Golden-Brown Finish
Want that gorgeous golden crust? Once the bread is baked, turn your oven to broil for 1-2 minutes. Keep a close watch things can go from “perfectly browned” to “burnt disaster” in seconds! The result? Bread that looks and tastes as impressive as it smells.

Storing and Freezing Italian Herbs and Cheese Bread
Best Practices for Short-Term Storage
Fresh bread is best enjoyed the day it’s made, but it can stay soft and delicious for 2-3 days if stored right. Wrap the loaves in foil or place them in an airtight container to prevent drying. Avoid refrigerating it can make the bread go stale faster!
How to Freeze and Reheat for Freshness
If you’ve got leftovers (unlikely, but let’s pretend), freezing is your best bet. Wrap each loaf tightly in plastic wrap, followed by a layer of foil, and pop them in the freezer. They’ll stay fresh for up to 3 months. To reheat, let the bread thaw at room temperature, then warm it in the oven at 300°F for about 10 minutes.
Try this Crescent Roll Breakfast Recipe for another bread recipe it’s perfect for mornings or snacks .
Troubleshooting Common Issues
Dough Too Wet or Dry? Fixing Texture Problems
Making Italian Herbs and Cheese Bread can sometimes feel like a science experiment, but don’t panic if your dough doesn’t cooperate. If the dough is too wet and sticky, sprinkle in all-purpose flour just a tablespoon at a time until it’s manageable. On the flip side, if your dough is dry and cracking, add a tiny bit of lukewarm water, kneading gently to restore its elasticity.
Bread Didn’t Rise Properly: What Went Wrong?
No rise? Your yeast might be the culprit. Check the expiration date on your yeast and always proof it with warm water (not hot!) before mixing. If your kitchen is chilly, place the dough in a warm spot, on top of the fridge or near a preheating oven.
Achieving the Right Flavor Profile
Is the bread bland? It might need a touch more salt or seasoning. Italian herbs are the backbone of this recipe, so don’t skimp. Taste the herb and cheese topping before adding it to ensure it’s flavorful enough to complement your bread’s natural taste.
FAQs Section
Can This Recipe Be Made Vegan or Gluten-Free?
Absolutely! Use vegan cheese and plant-based butter to make your Italian Herbs and Cheese Bread vegan-friendly. Substitute with gluten-free all-purpose flour and skip the malt powder for a gluten-free version. The texture might vary, but it’ll still taste great!
How Long Does It Take from Start to Finish?
This recipe is a labor of love, taking around 7-8 hours, including resting time. But don’t worry, most of that time is hands-off, so you can relax or prep other dishes.
What Equipment Is Needed for the Recipe?
At a minimum, you’ll need a mixing bowl, a kitchen scale, and an oven. A stand mixer, silicone bread molds, and an instant-read thermometer are helpful extras that can make the process smoother.

